


MISSION 8: MYSTERIOUS TREMORS
This guide will teach you how to complete the eight mission of the Penguin Secret Agency on Club Penguin Journey, “Mysterious Tremors.” If you wish to avoid spoilers and play the Missions without guides, we recommend you do not read further.


When you load into the mission, G will be standing in front of a machine. Click on G to trigger a conversation with him, following a shake in the room.

Before G finishes speaking, another tremor occurs. He then tells you to go to the Dock. Before leaving, grab the propeller hat to G’s left.

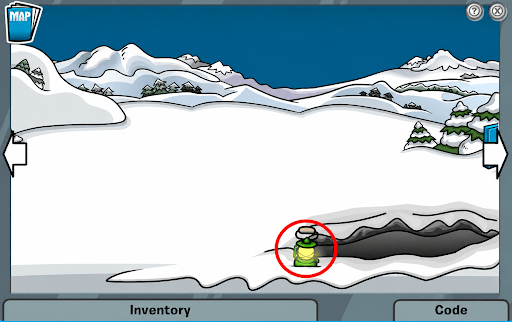
When you arrive at the Dock, Herbert and Klutzy will emerge from the ground in their drill vehicle. After the conversation, grab the green lamp Klutzy left behind.

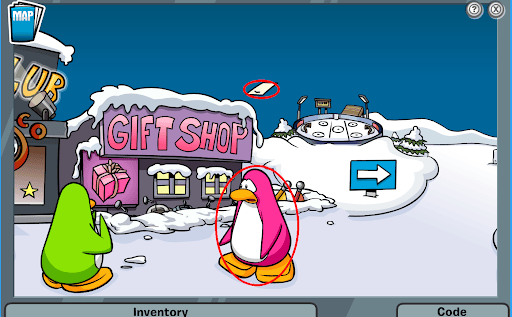
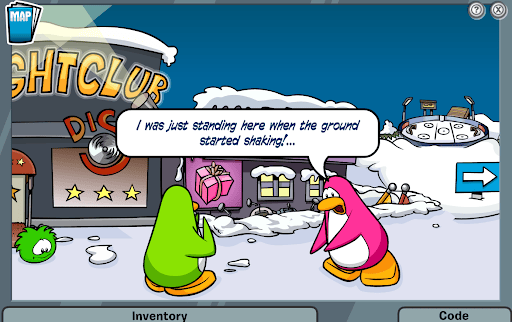
Next, head to the Town. You’ll see two maps fly by. Talk to the worried pink penguin.
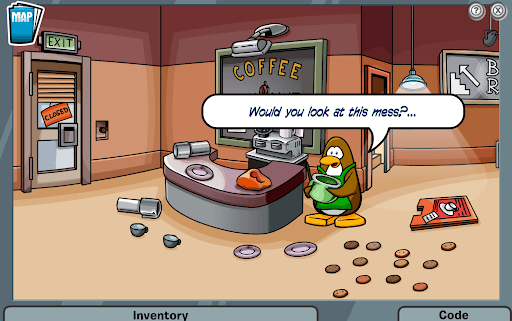
Enter the Coffee Shop and talk to the barista. Offer to help pick up the cookies, then click on one. He’ll offer you a cookie, so take it and add it to your inventory.
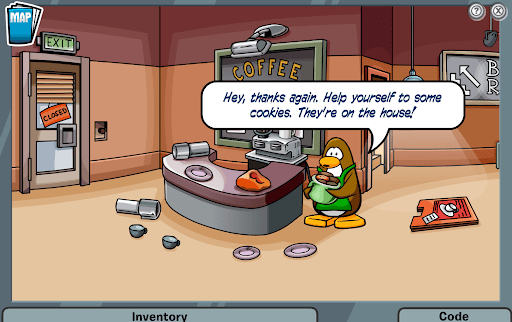

Head back outside to the Gift Shop, where you’ll find half of the map. First, give the green puffle the propeller hat and cookie. Then, pick up the map piece.


Next, head to the Snow Forts. You’ll find a map piece stuck to one of the flags. Click on it, and it will fly toward the Plaza.

You’ll see the map piece fall into a penguin’s newspaper. Talk to the green penguin, who won’t give you the newspaper but says he wants a double-meat pizza with extra grey fish.


Go to the Pizza Parlour and order a double-meat pizza with extra grey fish. Give it to the green penguin in exchange for his newspaper, then combine the two notes in your inventory.


Return to the HQ (Gadget Room) and report back to G. After the conversation, grab the hammer to G’s right.

Look around the lab and click on the air tank(super helium). Ask G about it, then add it to your inventory.


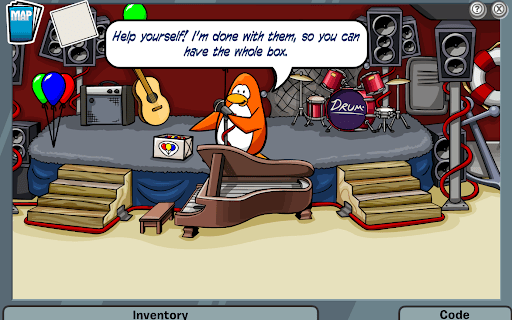
After collecting the air tank, go to the Lighthouse (Beach) and ask the orange penguin for some balloons. While you’re there, grab the net too.

Next, head to the Sports Shop (Ski Village) and grab the tent pegs.


Head to the Town.
Attach the balloon to the air tank and then to the Gift Shop. Quickly place the net under the door, then use the pegs and hammer to secure each corner. If you mess up, you can grab another net from the Lighthouse.

Return to the Dock and enter the hole Herbert dug. You’ll find two tunnels, so use your map and light the lantern. (Right, Left, Right, Right, Right, Right)

You’ll eventually reach the area beneath the Gift Shop. Continue straight until you find Herbert’s drill. Use your Spy Phone wrench to unscrew it, then add the gear to your inventory.


Enter the Boiler Room and talk to Herbert. After he escapes, G will call and ask you to fix the boiler by connecting the pipes from one corner to the other.


G will call and ask you to return to HQ. Talk to him and give him the gear, then collect your gift and medal.
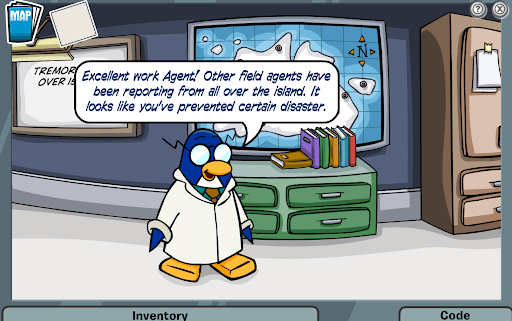
Congrats! You’ve completed PSA mission 8 “Mysterious Tremors”
Now claim your rewards!

We’d like to thank Bean for writing this guide. The next mission is titled “Spy & Seek,” which we have a guide for right here!
Seize the Night!


You must be logged in to post a comment.